Creating an Issue Type
Issues can be raised when an inspection test fails (or passes or becomes overdue) so that every non-compliance is visible and can be managed towards resolution. It is possible to create your own issue types, for example ‘Hot Water Temperature Too Low’ or ‘pH Level Too High’. The user can also set the priority of issue types so that severe issues can be identified and managed. To display the “Issue Types List” page and create an issue type, the user must click on the “Settings > Issue Types” menu :
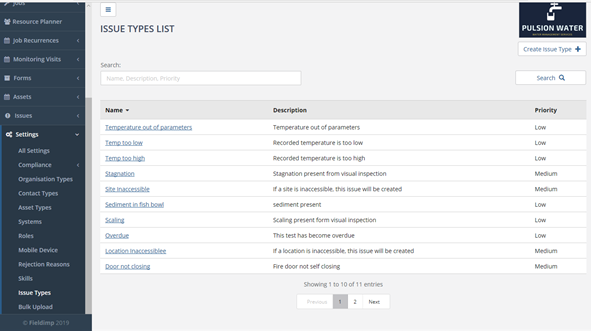
On the “Issue Types List” page, the user will be able to see a list of all the previously created issue types. The user can edit and delete issue types here. To do this, the user must press on the name of the issue type to get into the “Edit Issue Type” page:
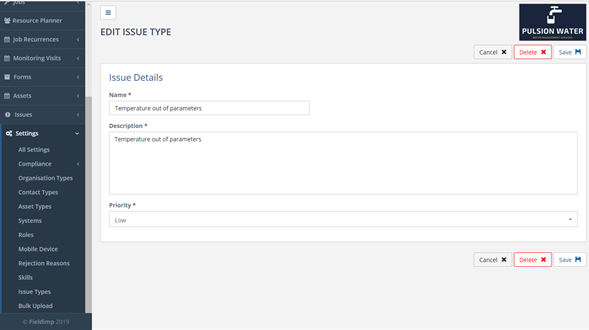
The user is then able to edit all the fields for the issue type. Once this has been completed the user can press the “Save” button in the top right of the page to complete the editing process. The “Delete” button in the top right of the page will delete the issue type.
To create an issue type, the user should go to the “Issue Types List” page and then click on the “Create Issue Types” button in the top right of the page:
![]()
Once this has been clicked, the user will be taken to a “Create Issue Type” page. Here, the user will be able to fill in information about the issue type:

The “Name” field is the name of the issue type e.g. Pressure too low. The “Description” field is a description of the issue type i.e. The pressure of this system is too low. The “Priority” field is a dropdown menu of low, medium or high priority
Creating an Issue
In order to create an issue, the user must have previously created an issue type (see the “Creating an Issue Type” subheading in the “Issues” subheading in the “Compliance” heading in this document) , the user must have also created a client (see the “Client Creation” heading in this document) , site (see the “Creating a Site” heading in this document), location (see the “Creating a Location” heading in this document), and an asset(see the “Creating Assets” heading).
To create an issue, select the “Issues > Create” menu :
Select the Issue Type of the issue being created and click “Submit”.

Once submitted, the user will be directed to a “Create Issue” page:
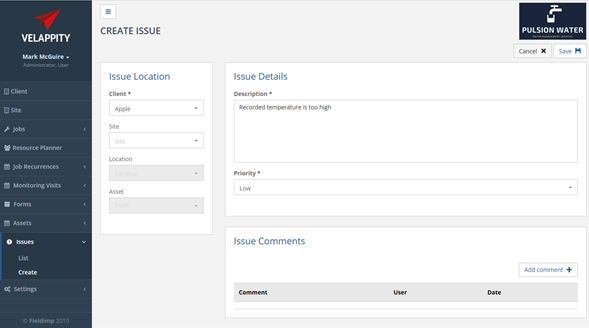
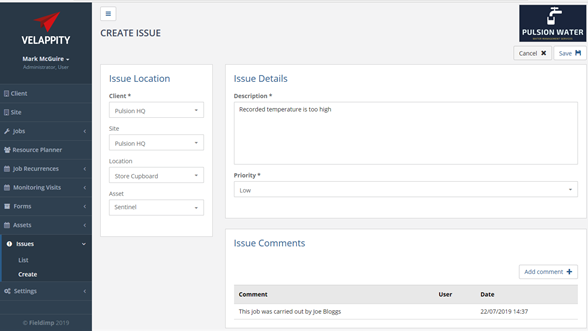
The Issue Location panel lets the issue be associated with a client, a site, a location or an asset.
The Description and priority of the issue can be entered. Comments can be added to the issue by clicking the “Add comment” button at the top right of the “Issue Comments” section:

Clicking the “Save” button will save the issue.
Managing Issues
Creating a Site Inaccessibility Reason
A Site Inaccessibility Reason is used for when a job cannot be completed because a site cannot be accessed. To Create a Site Inaccessibility Reason, select the “Settings > Compliance > Site Inaccessibility Reasons” menu.
The “Site Inaccessibility Reasons” page lists of all the previously created site inaccessibility reasons. On this page, the user can either add, edit or delete site inaccessibility reasons.
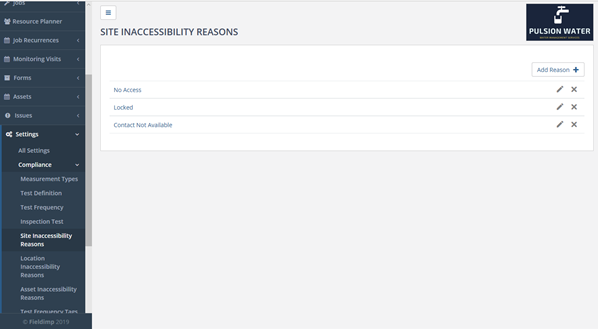
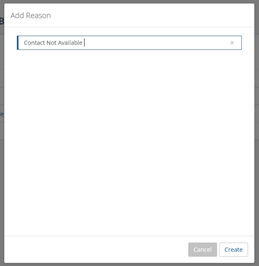
To create a reason, press the “Add Reason” button. From here, the user will be taken to the “Add Reason” page where the user can enter the reason for the site inaccessibility e.g. Contact Not Available.
Creating a Location Inaccessibility Reason
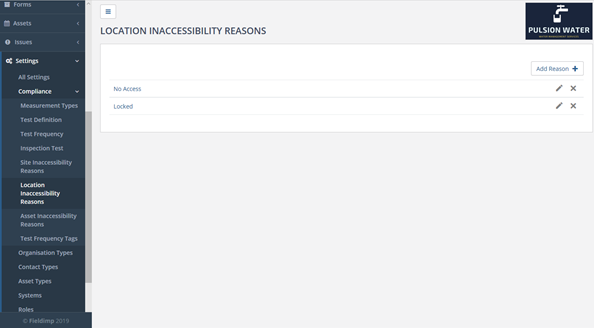
A Location Inaccessibility Reason is used for when a job cannot be completed because a location (generally a room) cannot be accessed. For example, the bathroom is locked, meaning that workers cannot get into the location. To Create a Location Inaccessibility Reason, click on the “Settings > Compliance > Location Inaccessibility Reasons” menu .
The “Location Inaccessibility Reasons” page displays a list of all the previously created location inaccessibility reasons and allows reasons to be created, edited or deleted.
Creating an Asset Inaccessibility Reason
An Asset Inaccessibility Reason is used for when a job cannot be completed because of a problem accessing an asset (e.g. a fire extinguisher cannot be found). To Create an Asset Inaccessibility Reason, select the “Settings > Compliance > Asset Inaccessibility Reasons” menu.
The “Asset Inaccessibility Reasons” page is used in a similar manner to the “Site Inaccessibility Reasons” page.
Compliance Dashboard
The “Compliance Dashboard” page can be used to get a quick overview any compliance issues within their clients and sites. To get to the compliance dashboard the user should select the “Dashboard” menu item.
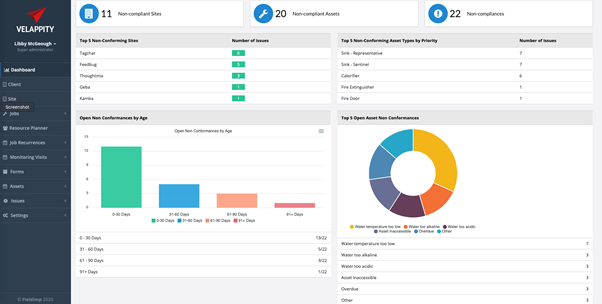
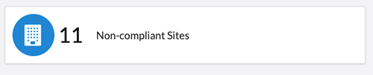
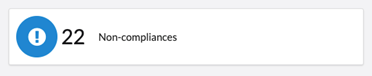
At the top of the page there is a summary of the assets in the users system.
The total number of sites that have one or more compliance issues raised on them.
The total number of assets that have one or more compliance issues raised on them.
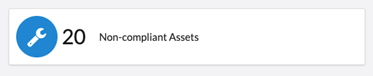
The total number of assets within the system.
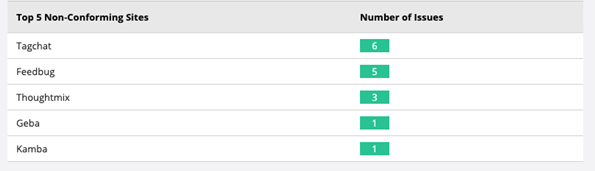
To the left of the page the user can view the five sites that have the most issues raised and the number of issues each site has.
Beneath this is a bar chart that shows the user any open compliance issues organised by the number of days they have been open for. The number of open assets in each age category is displayed beneath the bar chart, alternatively the user can hover over a bar to view this information.
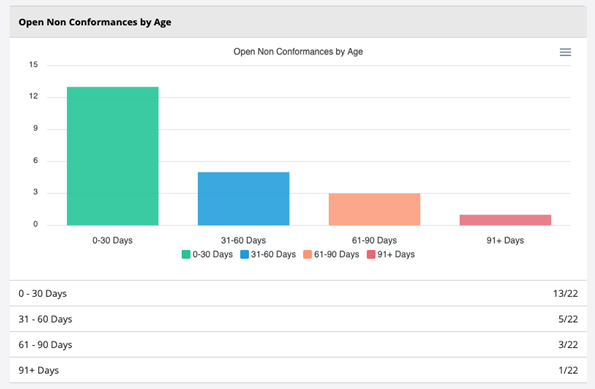
The user can also download this information as either an SVG, PNG or CSV file using the “Menu” button in the top right corner of this section and then selecting the file type they would prefer.
![]()
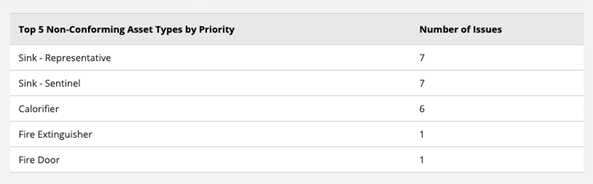
To the right of the page the user can view the top five non-conforming asset types. This chart displays the asset types, e.g. “Fire door”, that have the most issues raised on assets of this type. These are displayed in order of the number of issues raised.
Beneath this a doughnut chart is displayed that displays the five Issue Types that have the most open issues. The chart gives the user a visual representation of the ratio of Issue Types and hovering over each section in the chart will also display the number of open Issues. This information is also displayed in the table beneath the doughnut chart.
