Configuring Settings
To set up emails, the user must direct themselves to the “Edit My Company” page (If the user is unsure on how to do this, they should look at the “My Company” section in this document), and then press the “Edit” button in the top right of the screen.
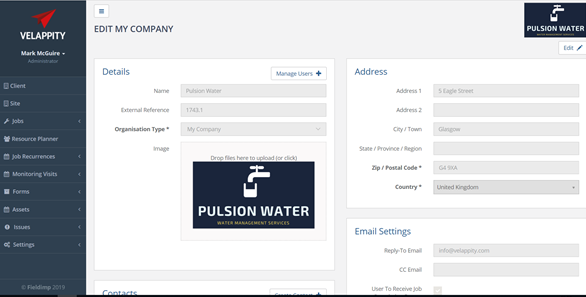
Configure the settings for automatic emails in the “Email Settings” section.
In the “Reply-To-Email” field, the user should enter an email that the clients should be able to email if they have any queries etc. This is also the email that any replies will be sent to for automatic emails.
The “CC Email” is an email address that is included in any automatic emails. There can only be one email address in each of these fields and they must be valid email addresses.

Selecting the “User To Receive Job Completion Report” checkbox will set up auto-emails so that when Forms Jobs are completed, they are automatically sent to the applicable email address.
Selecting the “Email Site Visit Report” checkbox will set up auto-emails so that when Monitoring Visit Jobs are completed, they are automatically sent to the applicable email address.
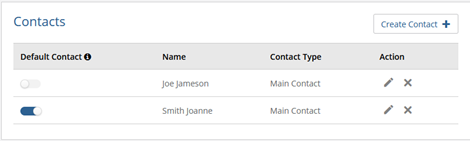
To user also needs to create contacts with valid email addresses to set up automatic emails on a job. The “Contacts” section on this page will contain all the contacts that are at the site of the company, for example, a secretary. To create a contact, the user should click on the “Create Contact” button at the top right of the “Contacts” subsection.
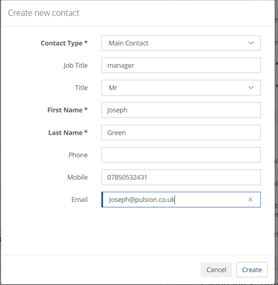
Once this has been clicked on, the user should enter information for the contact, if the user is unsure on what a “contact type” is, please see the “Creating Contact Types” section. When the user has finished entering this information, clicking the “Create” button will create the contact. Clicking the “Cancel” button will discard the new contact details and no contact will be created.
Adding a Contact to a Job
Form Job
To add automatic emails to a Form Job the user should configure the templates for the form. For more information on creating a template please see the “Uploading a Template” part of the “Using the Velappity Plug In” section.

Open the “Edit Template” popup and make sure the “Auto Email on Job Completion” checkbox is selected.
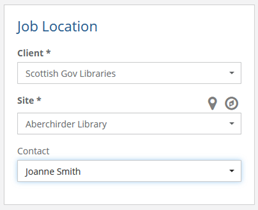
Finally, when creating a new job, the user can select a “Contact”. This is the user that will receive automatic emails when the job is completed.
Monitoring Visit Job
To add automatic emails to a Monitoring Visit Job the user should select a “Contact” when creating the Monitoring Visit. This is the user that will receive automatic emails when any job generated is completed and this contact will be the same for every job.