Selecting a Form
Select the Form, to associate with this template, from the Form dropdown here:
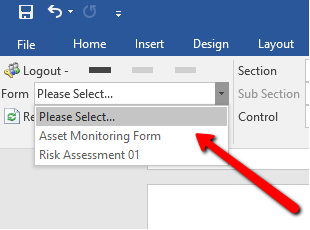
The Form drop-down allows you to select from any published Form on your Velappity account.
Control Tag Selection
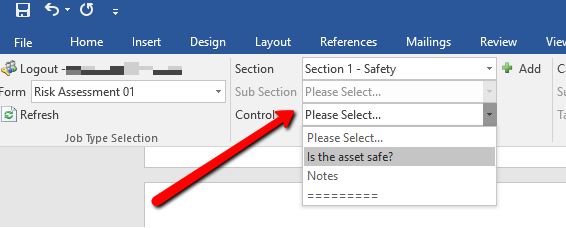
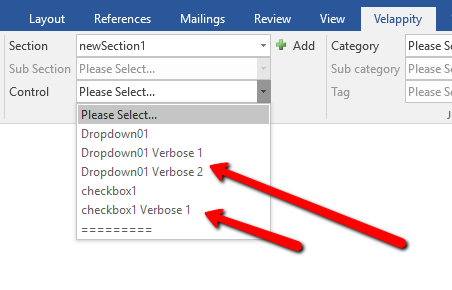
Now that a Form has been selected, you can select what content you want to be added to the document. First select the Section (& Sub Section if used) from the Section & Sub Section drop-downs. Then select the Control to add from the bottom Control drop-down.
Once you’ve selected the control you want to add, make sure the cursor is where you want the tag inserted, then click the Add button to insert a tag into your document.
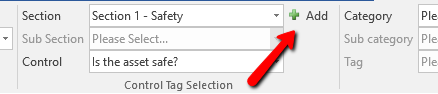
After clicking Add, the tag should appear on the document:
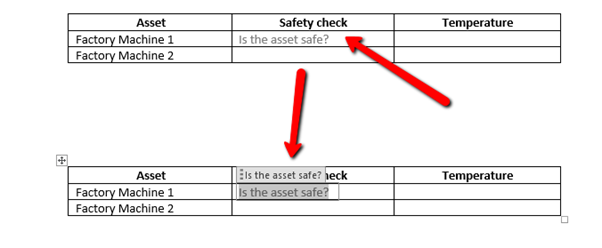
The Tag’s text is the Control name, which may be truncated for Controls with long names. When a document is generated from the template, the tag will be replaced with the data which was entered to the Control when completing the Job. In this case, the Control is a Checkbox, so the value will be true/false.
Selecting Verbose Values
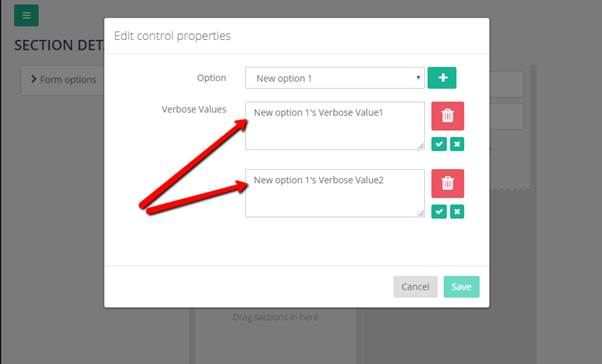
Some Controls in Velappity Forms can have Verbose Values to them (for more information on verbose values please see the “Controls” section. The controls which support Verbose Values are Drop–downs, Checkboxes and Radio Buttons.
If Verbose Values have been set up on a Control they will be selectable as individual items from the Control drop-down in the Word Extension. When inserted to the template as a tag they will insert the text entered for that Verbose Value on the Velappity website rather than the data entered to the Control.
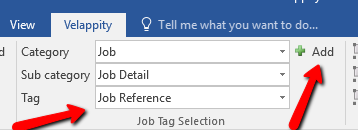
Job Tag Selection
This section of the ribbon allows you to create tags in the template using additional details about a Job, Client or Site which are stored on Velappity. Again, you can select the exact tag and then, with the cursor where you want the tag inserted, click the Add button to create the tag.
Advanced
Design mode
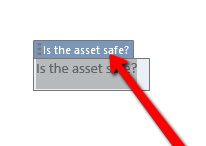
Enabling Design Mode will show tags more clearly in the form:
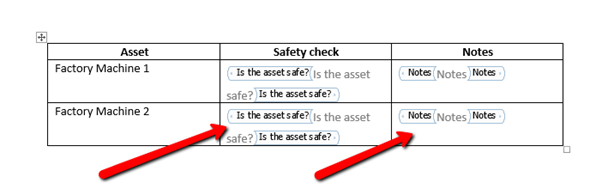
This format makes it easier to see all the tags in your document without selecting each one individually.
Grouping
The Grouping section allows you to apply a few rules to your tags. First, click on a tag that you have created, then click the ‘title’ of the tag:
Once the title is selected, the “Group”, “Delete if empty” and “Delete if tag empty” buttons will become enabled.
Grouping tags is a feature used as part of Repeatable Sections and Grid Input Sections. Tags within a group will be repeated for that repeatable section.
The Delete if empty will remove the whole group if everything inside that group is empty.
The Delete if tag empty option will remove the whole group if the specified tag is empty.
The distinction between these two options is that the Delete if empty applies to many tags as part of a group. The Delete if tag empty applies to one tag within a group.
Uploading a Template
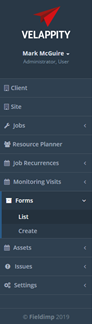
To upload a template, the user must have first created a template. Once this has been created, the user must go to the “Forms List” page. To do this, the user must click on the “Forms” heading, followed by the “List” subheading.
Then the user will be taken to the “Forms List” page where the user will be presented with a list of previously created forms:
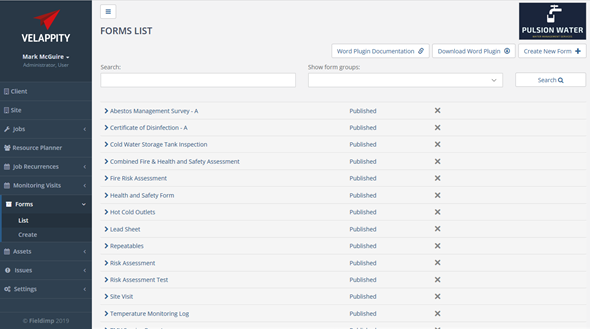
To upload a template, the user must click on the desired form that corresponds to the user’s template:
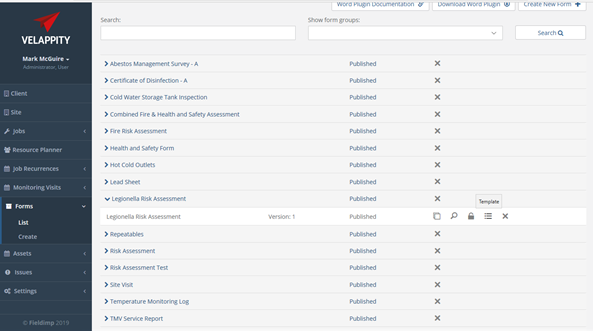
The user must then click on the template button which is one of the three options on the form:
![]()
Once clicked on, the user will be directed to a “Document Templates List” page:
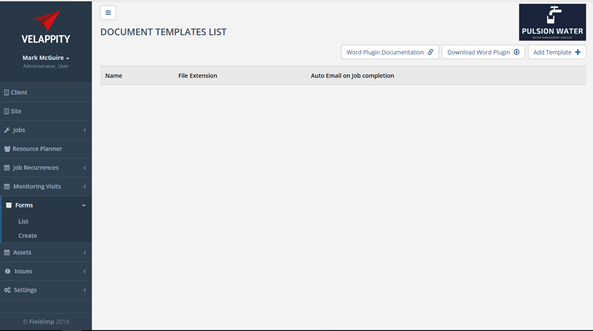
The user can then click on the “Add Template” button at the top right of the page.
![]()
Once clicked, the user will be directed to an “Add Template” page:
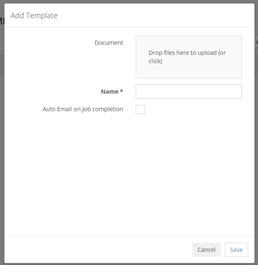
The user can then drag and drop files, in this case the user’s template, into the “Document” field. The user should then enter the name for the document into the “Name” field i.e. Legionella Risk Assessment. The user can also choose whether to email this document to the client after completion of the job.
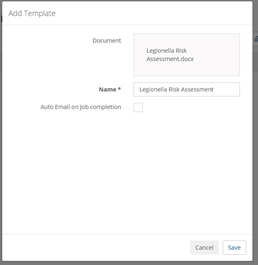
To add this template to the form, the user must press the “Save” button at the bottom right of this page.